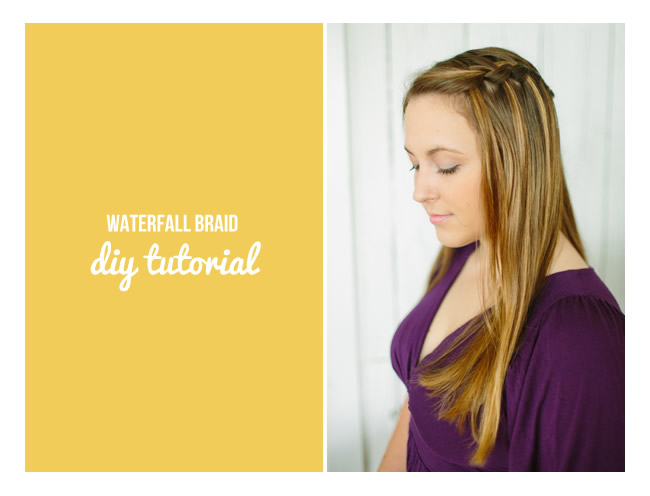
 We all love braided hairstyles, and the waterfall braid is one of the prettiest braids you can DIY. But even
braid fanatics often skip this one. Why? Perhaps the braid’s cascading, flowing effect seems daunting. Or maybe it’s that most people don’t know where to start.
Whatever the reason, the waterfall braid trend looks like it’s here to stay, so it’s a good idea to learn how to do it. And the good news is this: Despite how beautifully impossible it looks to DIY, the waterfall braid is actually just a spin on the classic French braid. Translation: It’s a heck of a lot easier to do than you think.
Step 1: Take a small section of hair where you’d like your braid to start and separate it into three pieces.
Step 2: Take the right piece of hair and cross it over the middle piece of hair.
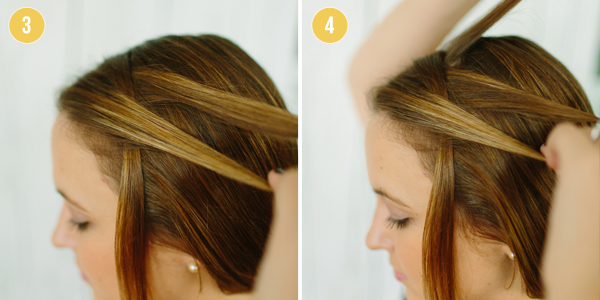
Step 3: Take the left piece of hair and cross it over the middle piece of hair. (This completes one full weave of a basic 3-strand braid.)
Step 4: Let the left piece of hair fall (you no longer need to hold onto it) and pick up a small piece of hair
near the right strand of hair…
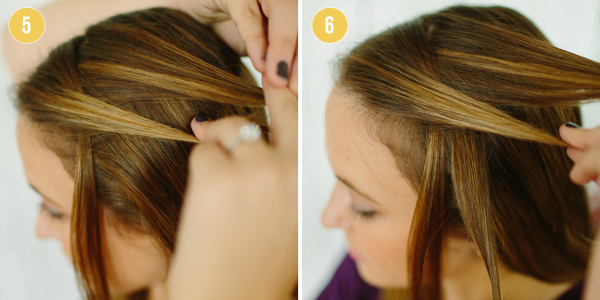
Step 5: …and add it to the right strand of hair.
Step 6: Now, take a new piece of hair from the left side. (Do not touch the piece of hair that you let fall, you will not incorporate it back into the braid!) You now have 3 pieces of hair which to start the process over with.
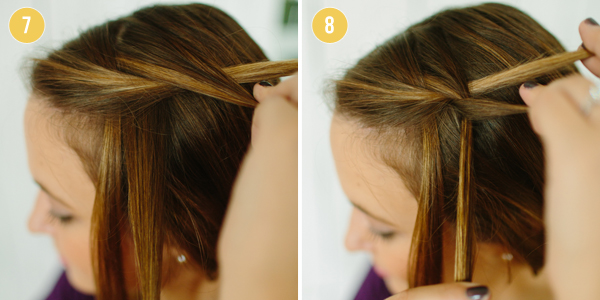
Step 7: Take the right piece of hair and cross it over the middle piece of hair.
Step 8: Take the left piece of hair and cross it over the middle piece of hair. Let go of the left piece of hair and continue from Step 4 – repeating until you have braided as far as you’d like to.
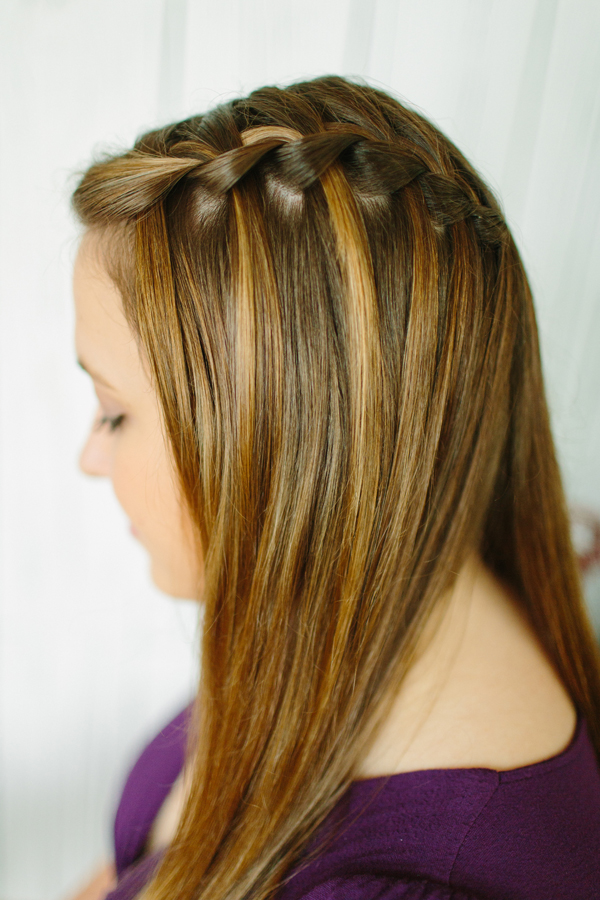
Simply gorgeous!
via charmcitywed


