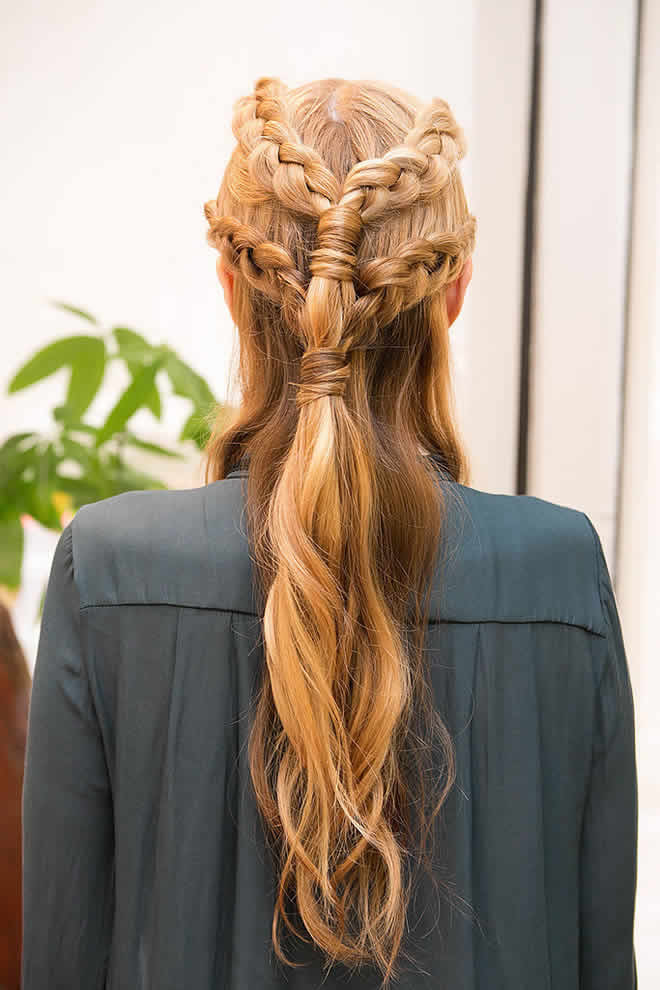
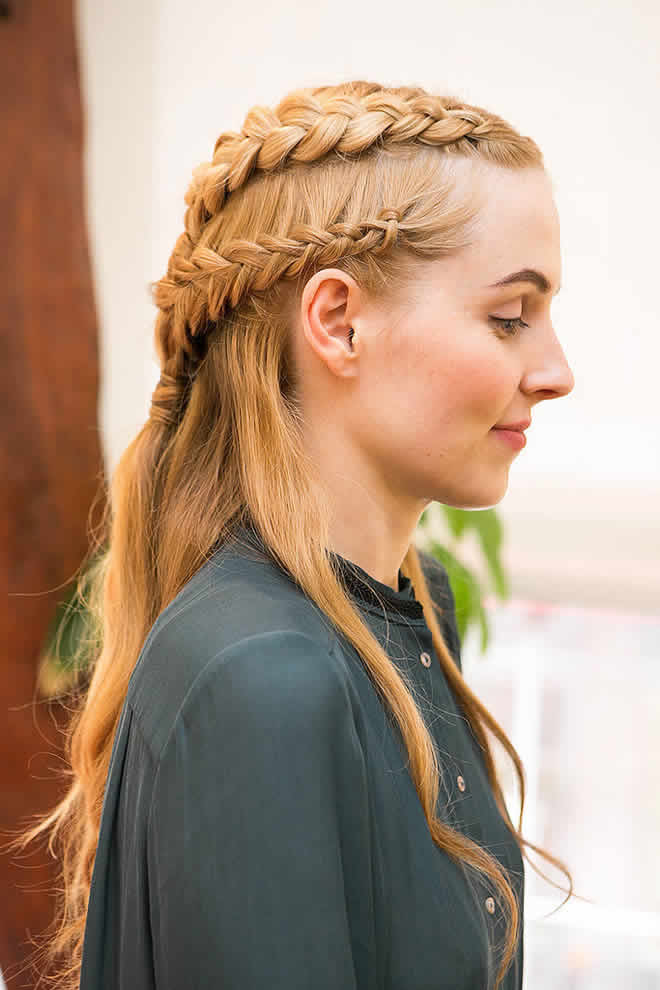
We’ve already shared our admiration for Daenerys’s plaited platinum locks, but this intricate weave is truly on a throne of its own! In honor of the Game of Thrones season premiere, we asked hairstylist Dana Tizzio of Butterfly Studio Salon to break down all the steps ahead for getting this two-tiered, inside-out french braid ourselves. Trust us you’ll no longer want to hide away in exile with this style that demands to be seen (and respected).
Step 1

After blow-drying hair into soft waves, draw a middle part and spray Shu Uemura Sheer Lacquer ($41) to add shine and eliminate flyaways.
Step 2

Next, section off the top one-fourth of hair, and tie away the rest with an elastic or clip.
Step 3

Work a dollop of Shu Uemura Shape Paste ($45) through your hands, and rub each section of hair into your palms as you grab them to add hold to the braid. Start out with three pieces of hair, just as you would a typical french braid.
Step 4

Create the inside-out french braid (aka dutch braid) by crossing each section under the center strand, instead of over. This will make the braid appear to be sitting on top of the head rather than embedded within the hair.
Step 5

“Keep your hands as close to the scalp as possible to keep the braid tight,” advised Tizzio. Also, make sure to weave so that the top sections stretch all the way to the edge of the braided zone, instead of allowing the braid to sit directly in the middle of it.
Step 6

Continue to dutch braid till you reach the back of the head; then form a short traditional braid at the end to hold everything in place, and clip it off.
Step 7

Repeat this inside-out braid on the other side of the head.
Step 8

Again, weave till you reach the back of the scalp, form a few rows of a traditional braid to hold your work in place and give yourself some extra length, then connect the two sides together with a clear elastic at the base of the head.
Step 9

Take a section from the bottom of the ponytail, spritz it with hair spray, and comb it through so it’s smooth and the hair spray gets evenly distributed. Then, wrap it around the elastic.
Step 10

Instead of securing the wrap with a traditional pin, Tizzio created a “liquid bobby pin” by blasting the ends of the strand with hair spray and running over it with a curling iron to seal it in place!
Step 11

This is what the style should look like after the first braided tier is complete.
Step 12

Next, create the second tier by grabbing a horizontal section of hair from the top of the ear. Clip the remaining hair away.
Step 13

Repeat the dutch braid technique by weaving under instead of over. Again, be sure the top sections stretch all the way to the end of the braided zone so that the braid sits on top of the ear instead of at the temple in the middle.
Step 14

Dutch braid to the back of the head, form a traditional braid to hold it all in place and add some length, and tie it off with a clip or elastic.
Step 15

Repeat this inside-out braid again on the other side.
Step 16

Once the weave hits the back of the head, start another short traditional braid, and tie it off.
Step 17

Gather the top section and both bottom braids together, and secure the entire bundle with an elastic about two or three inches down from the first ponytail.
Step 18

Take another small section of hair from underneath the ponytail, spritz on some hair spray, comb it through, and wrap it around the base.
Step 19

Create a second “liquid bobby pin” by dousing the ends of the strand in hair spray and running a curling iron over it to lock the wrap in place. If you need to further reinforce this thicker ponytail wrap, Tizzio said to feel free to use a traditional pin.
Step 20

Finally, pull on the outer sides of each braided section to make the weave wider. “This gives the style a more modern look,” Tizzio explained.
Final Look: Back View

Now you’ll be able to fight any battle that comes your way with fierceness, just like the Game of Thrones star!
Final Look: Side View
Final Look: Front View


