
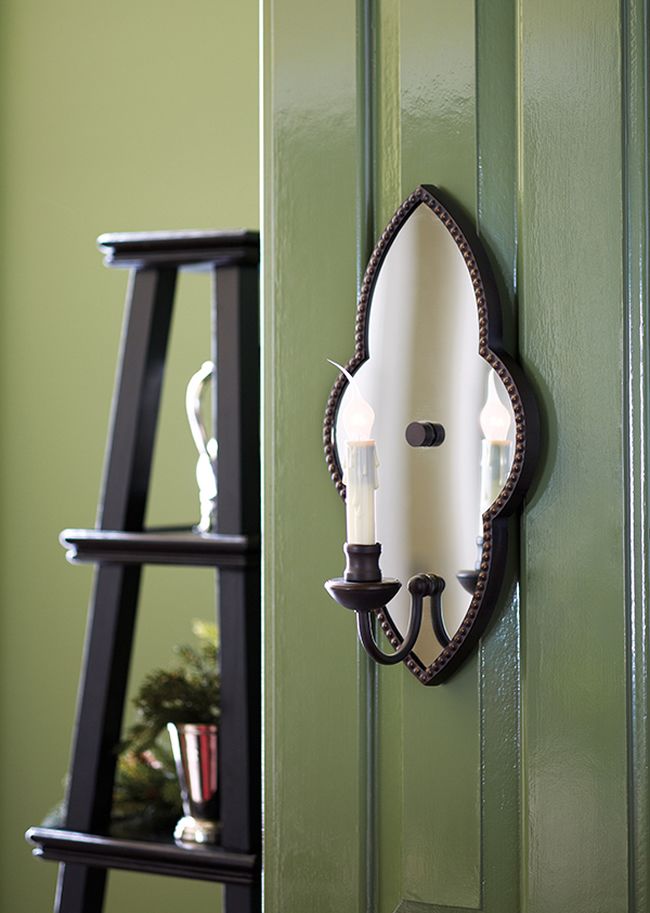
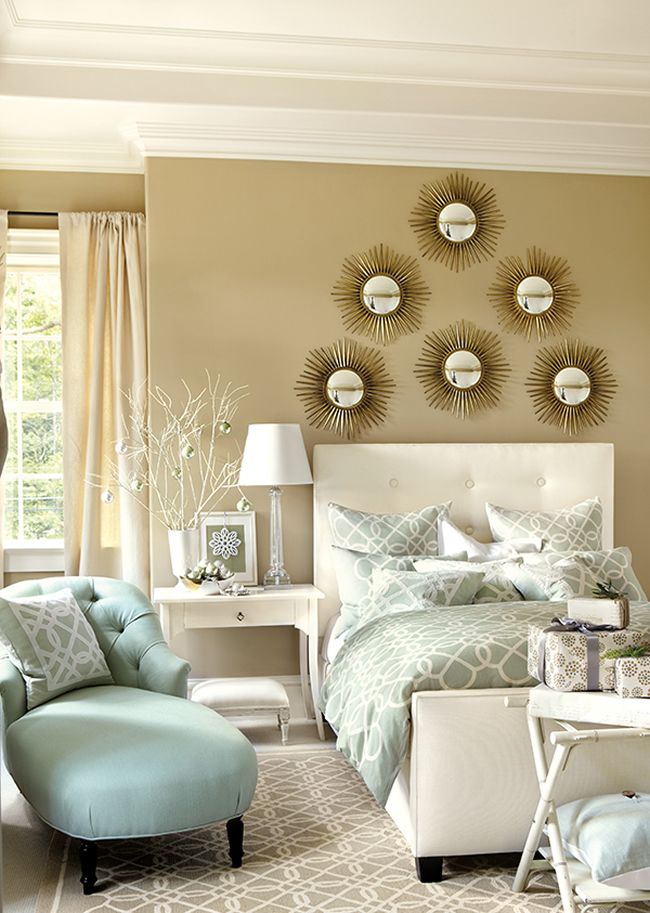
A fresh coat of paint is one of the most cost effective ways to dramatically improve the look of a space. Think of it: a fireplace really becomes the focal point once it’s in front of an accent wall; a bland kid’s room transforms into something playful with a pop of color; a dining room gets a sophisticated upgrade with a darkened ceiling. The right wall hue acts as a complementary backdrop to the furniture you already own.
Want even more bang for your buck? A smooth, flawless finish depends on how you paint the room. Follow the tips below for a look that will have your guests wondering if you hired a professional.
Step 1: Cover with Canvas
Drop cloths protect the things you don’t want to paint, but some work better than others. Professional painters like canvas for its tear-resistant durability and excellent absorption of paint splatters. Spill paint on a plastic cloth and you run the risk of stepping in it later (paint doesn’t dry as quickly on plastic) and tracking it through other parts of the house. Some canvas types come with a rubber backing, ensuring it will grip the floor and stay in place.
Step 2: Start with a Smooth Surface
Fill in any nail holes, scratches or dents in the wall by applying a lightweight joint compound with a putty knife. Let the compound dry for at least 10 minutes, then lightly buff the entire wall from baseboard to ceiling with a fine grit (100 or 150) sandpaper on a sanding pole. Use a soft touch—leaning into the sanding pole could cause its head to invert and scratch the wall. Finish by sanding horizontally along the baseboard and ceiling.

Step 3: Strain the Paint
Even freshly mixed paint can contain a few lumps or chips of hard paint, which can seriously sabotage a smooth paint job. Any clumps that make it onto the wall will have to be picked out and the area re-rolled. The solution: strain paint through a straining cloth (available at home improvement and paint stores) or pantyhose, cut to create one large piece of mesh, to sift out any debris.
Step 4: Use a Primer
Painting directly onto sanded walls can result in dull patches caused by joint compound pulling the moisture out of paint. Start with a coat of primer; it will optimize the walls you sanded smooth earlier by ensuring a seamless, paint-ready surface. If you’re working with walls that have been stained by smoke or fires, consider using a stain-blocking primer, available in oil or water-based versions. Otherwise, stick with a grey-tinted primer, which covers existing paint better than white primer. With a primer underneath, your new paint will appear richer in color and may require fewer coats.
Step 5: Prevent Paint on the Ceiling
Textured ceilings in particular seem to end up with smudges of color on them. Nip this problem in the bud by taping along the edge where the ceiling meets the wall with blue painter’s tape. Another option, best suited for advanced DIYers who are confident in their skills, is to make a straight, horizontal groove just below the ceiling with a putty knife or screwdriver. The brush will naturally go to this line when you’re painting, preventing it from touching overhead.
Step 6: One Wall at a Time
It may seem logical to paint a room by outlining or “cutting in” all four walls at once, then finishing with a roller, but that can result in a noticeable difference if the edge paint on the first wall dries before you get to the rest of it. Pros know to complete one wall at a time. Cut in all four edges of a wall using a sharply angled brush with a short handle, then immediately fill in the rest with a roller before moving to the next wall. Note: if you’re not entirely steady-handed with an angle brush, do cover the trim and woodwork with blue painters tape and press it in place with a putty knife.
Step 7: Prep the Roller
Dampen it: use a spray bottle of water for latex paint, dip the roller in a tray of paint thinner for oil-based paint.
Step 8: Roll It On
Pour strained paint into a tray and load the roller with color by rolling it down into the tray with one fluid motion. Pick it up and distribute the paint evenly by running the roller down the tray once more, stopping before it reaches the paint well. Once the roller is loaded, tackle the wall in sections: roll up and down from floor to ceiling, stopping a few inches from the ceiling and thinly overlapping the previous stroke each time. Reload the roller as necessary and paint the next section, working backward toward the previously completed portion of wall. If using an extension pole, keep your dominant hand lower on the pole for greater control. At the corners, paint as closely as possible to the adjacent wall without touching it. Without loading additional paint onto the roller, finish the wall with a blending horizontal stroke below the ceiling line.
Step 9: Keep Paint Fresh
If you’re taking a lunch break or plan to finish the job the next day, do not stop mid-wall. Complete the wall you’ve started before breaking. Close the lid on the paint can tightly and place a damp rag or towel over the paint tray any time you take a break for more than 10 minutes. For overnight breaks, toss out tray liners and either clean brushes and rollers or cover them in plastic wrap and put them in the freezer to prevent drying and hardening.